

Stop Slippage: Make and Use a 70-inch Yoga Mat Strap
Loop both ends over a tightly rolled mat and wear it crossbody. That’s the whole trick. For a DIY version, cut about 70 inches of 1.5 inch cotton webbing, fold sewn loops at each end, and box stitch the joins for strength. Pick a D ring or adjustable style if your mat runs thick, and swap the strap for a bag on long or wet commutes.
TL;DR:
- The optimal strap length for carrying a standard mat is between 60 to 85 inches, with longer straps up to 8 feet suitable for extending use as a stretching aid.
- Cotton webbing improves grip on rubber or cork mats, especially when damp, while nylon tends to slip and is less suitable for wet conditions.
- Proper loop placement is crucial; loops should be 4 to 6 inches from each end of the roll to prevent telescoping and slipping during transport.
- Reinforced stitching and fray protection are essential in DIY straps to ensure durability, especially when used daily or for heavy loads.
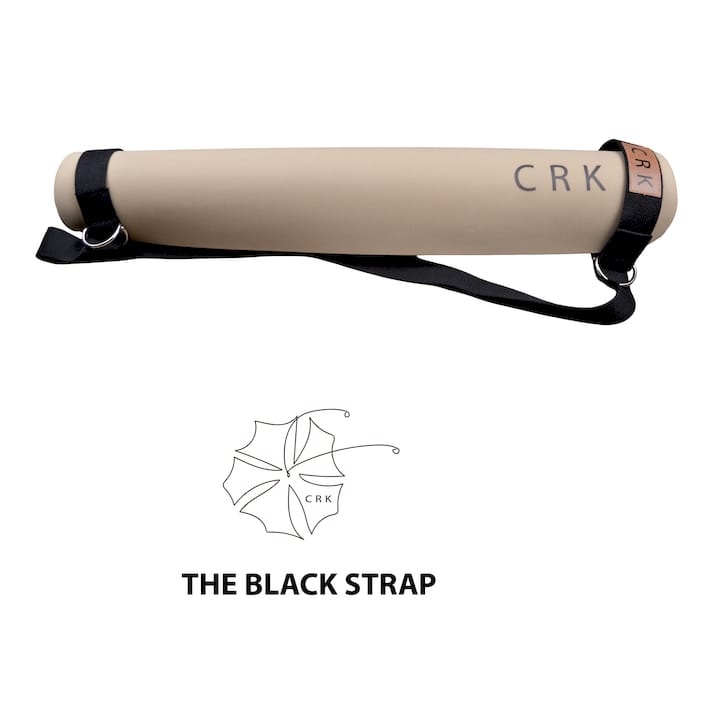
- For dense cork and rubber mats, a high-quality strap like The Black Strap provides secure, long-lasting support for daily commuting.
Table of Contents
- What you need before you start
- How do you use a yoga mat strap?
- How do I make a strap for my yoga mat?
- Choosing the right strap for your mat and your routine
- Why strap fit actually matters
- Our take on straps: buy matched, or build it properly
- Carry your mat the way it deserves to be carried
- Sources
- FAQ
What you need before you start
Grab your strap or your sewing supplies first. It saves you a second trip to the shop.
Ready-made options come in three styles. A fixed-loop sling is the simplest, just two sewn loops connected by webbing, and it works fine on standard mats. A D-ring strap adjusts to fit thicker rolls or a looser drop height. A cinch or buckle strap tightens with a slide, which suits anyone who switches mats often.
Building your own strap takes a short list of supplies:
- 1.5 inch cotton webbing, cut to length
- Two metal D-rings or an O-ring pair (optional, for adjustability)
- Heavy-duty polyester thread
- A shoulder pad or scrap fabric for comfort (optional)
- Basic sewing kit: pins, scissors, a sewing machine or heavy needle
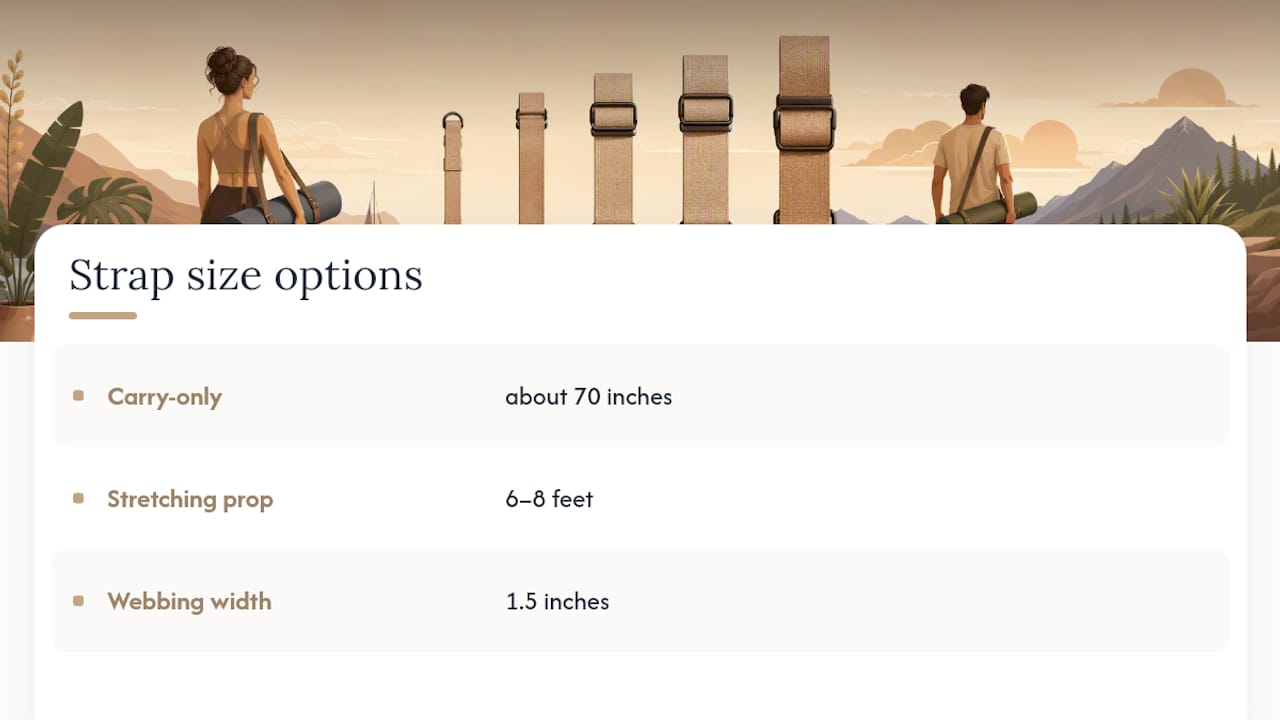
For length, aim for 60 to 85 inches if the strap is only for carrying. If you want a strap that doubles as a stretching aid, go with 6 to 8 feet instead. Measure your rolled mat’s diameter before cutting so the loops actually fit.
How do you use a yoga mat strap?
Four steps, no guesswork. Follow them in order and you won’t be chasing a loose mat down the sidewalk.
- Roll it tight. Practice-side facing in, and roll from one end with even pressure. A loose roll is the number one reason straps slip.
- Place the loops. Slide one loop over each end of the roll, about 4 to 6 inches from the edge. Too close to the centre and the mat can telescope out.
- Cinch and test. Tighten any adjustable points, then give the strap a firm tug. If the mat shifts inside the loops, move them slightly inward and retest.
- Sling and go. Wear it crossbody for the most stable carry, especially if you’re walking any real distance. On a bike, tuck the roll along your back or across the frame rather than letting it dangle near the wheel. On transit, crossbody keeps both hands free for a rail or a phone.
Quick demo videos back this up.
shows the exact same loop placement, roughly a hand’s width from each end, holding steady on a standard 4 to 5 mm mat.
Pro Tip: If your strap keeps sliding on a slick mat surface, switch to cotton webbing instead of nylon. Cotton grips rubber and cork far better, and if you’re stuck with a slippery strap in the moment, tuck a folded washcloth between the strap and the mat as a temporary non-slip pad.
One more call to make before you head out the door: strap or bag? A strap is lighter and packs down to nothing, which makes it the better pick for a short, dry commute. If you’re hauling a towel, water bottle, and props, or the forecast says rain, a bag protects your mat and your back.
How do I make a strap for my yoga mat?
Sewing your own strap is a weekend-afternoon project, not a tailoring course. Here’s the build.
Cutting. Cut your webbing to about 70 inches for a carry-only strap, or 6 to 8 feet if you want it to double as a stretching prop. Stick to 1.5 inch width. Anything narrower digs into your shoulder under load.
Forming the loops. Fold each end of the webbing back on itself to create a loop sized to your mat’s rolled diameter, then box stitch or bar-tack the fold. If you want an adjustable fit rather than a fixed loop, thread the fold through a D-ring before stitching so the strap can cinch tighter on thinner mats or open up for a thick one.
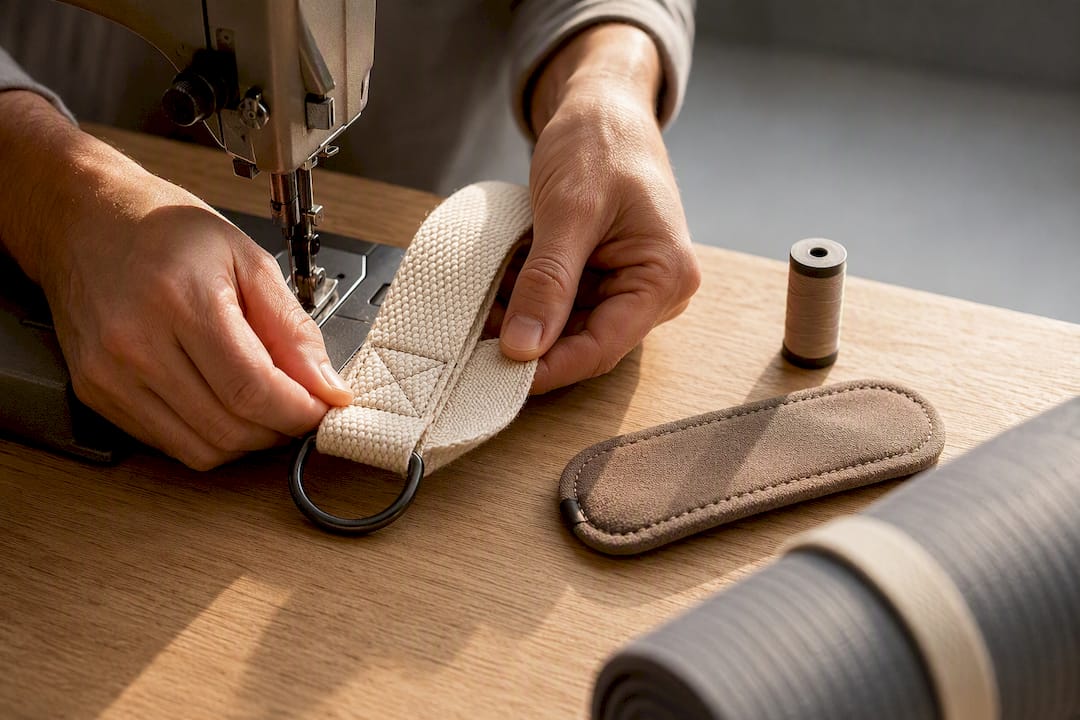
Adding a shoulder pad. A simple rectangular fabric flap, folded around the webbing and stitched along both long edges, cushions the strap against your shoulder. Fabricland’s sew-along pattern includes a detachable pad design, which is worth copying if you want to wash the pad separately from the strap. The Sorry Girls offer a similarly beginner-friendly pattern with clear dimensions if you’d rather compare two approaches before cutting fabric.
Testing and finishing. Pull hard on every stitched junction before you trust the strap with a real mat. A proper box-and-cross stitch at each loop should hold well past a light tug test. Seal the raw webbing ends with a lighter (for synthetic webbing) or fray-check tape (for cotton) so they don’t unravel after a few carries.
Home fixes like a bathrobe belt or a scarf work in a pinch, but they wear out fast and rarely hold a stitch pattern strong enough for daily use. A properly sewn cotton strap with reinforced junctions lasts years longer than an improvised one.
One safety note: this pattern is built for carrying weight, not for bearing your body weight in a pose. If you plan to use the same strap as a stretching aid during practice, make sure the hardware and stitching are rated for that kind of load, not just a mat’s weight.
Choosing the right strap for your mat and your routine
The right strap comes down to three things: material, width, and how your mat is built.
- Cotton vs. nylon. Cotton webbing grips rubber and cork mats noticeably better than nylon, which tends to slide, especially once it’s slightly damp from a sweaty commute.
- Width matters. Anything under 1.5 inches starts to cut into your shoulder on a longer walk. Wider webbing spreads the load more evenly.
- Mat thickness. If your mat runs 6 mm or thicker, measure the rolled circumference before committing to a fixed-loop sling. Many fixed loops simply don’t stretch far enough around a thick roll, an adjustable D-ring model handles that better.
For everyday durability, The Black Strap is built for daily wear and tear, gym bag to studio and back. If you want something with more personality for a casual weekend class, The Boho Strap brings a patterned cotton look without giving up grip. For anyone who wants their gear to match their outfit as much as their practice, The Chic Strap leans fashion-forward while staying functional.
If you’re commuting somewhere wet, or carrying extra gear on top of your mat, skip the strap altogether and use a bag instead.
Why strap fit actually matters
A strap that matches your mat isn’t a luxury, it’s what keeps the roll from sagging out of the loops halfway through your walk. Crk builds its mats from organic cork and natural rubber, which gives a denser, slightly heavier roll than a foam mat. That density is exactly why loop placement and webbing width matter more than they would with a lightweight travel mat.
Alignment guides built into some mats can help the roll hold its shape better once cinched, so a fixed-loop strap sits more securely without slipping down the roll mid-walk. Cork’s natural antimicrobial properties can reduce odour buildup that often makes mats harder to keep clean over time, which matters when a mat is getting rolled, strapped, and unrolled daily.
Our take on straps: buy matched, or build it properly
Sustainability isn’t a footnote here. A strap made from cotton webbing, not synthetic blends, tends to outlast the trend cycle and biodegrades better at the end of its life. That aligns with why cork and natural rubber mats exist in the first place.
Making your own strap is worth it if you enjoy the process or need a custom length for an unusual mat. Buying a matched strap makes more sense once you’re commuting daily and can’t afford a stitch failure on a crowded platform. Whichever route you take, pull-test any DIY strap hard, in private, before you ever trust it in public.
— Crk
Carry your mat the way it deserves to be carried
A strap should match the mat it’s carrying, not fight it. If you’ve measured your roll and want something built to hold a denser cork-and-rubber mat without slipping, The Black Strap is the everyday workhorse, tested against daily commutes rather than the occasional class.
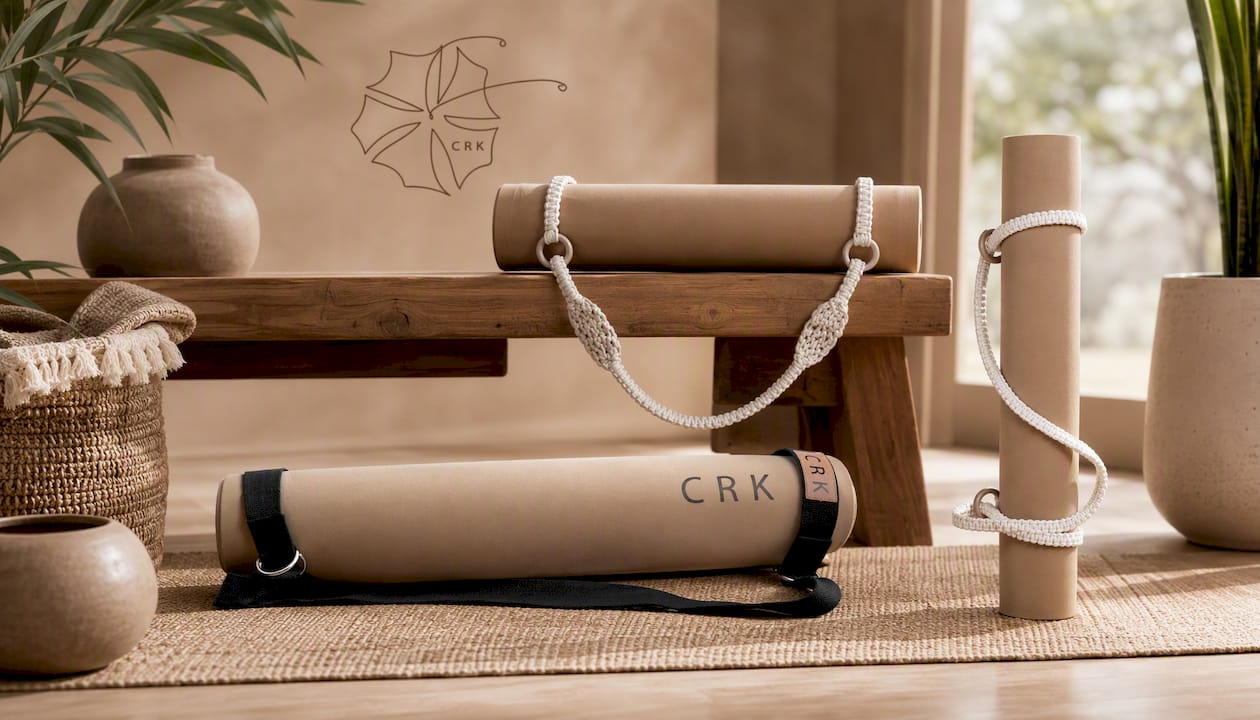
Prefer something with more personality? The Boho Strap and The Chic Strap offer the same cotton grip in patterns built to match your style, not just your mat. Browse the full strap collection to compare lengths and finishes side by side, then place your order directly on the product page. Returns and order details are listed on each product page before checkout.
Sources
- Yoga Mat Carrier Strap — Fabricland
- Make your own yoga mat strap — The Sorry Girls
- Yoga mat strap: types, how to use & what to buy — InternationalYogaConference
FAQ
How do I make a strap for my yoga mat?
Cut about 70 inches of 1.5 inch cotton webbing, fold sewn loops at each end, and reinforce the joins with a box stitch. Add a fabric pad over the centre section if you want extra shoulder comfort.
How does the lululemon yoga mat strap work?
Most commercial mat straps, including lululemon’s, use the same basic principle as any carrying strap: two end loops slide over a rolled mat and cinch tight, then the strap is worn crossbody or over one shoulder. The mechanics don’t change much between brands, what varies is webbing width, material, and whether the loop is fixed or adjustable.
What are some common mistakes when using a yoga strap?
The biggest mistake is rolling the mat loosely, which lets it telescope out of the loops mid-carry. A close second is placing the loops too close to the centre of the roll instead of 4 to 6 inches from each end.
How do you use a yoga strap?
Roll the mat tightly, slip a loop over each end near the edge, cinch until snug, and wear the strap crossbody for stability. Test with a firm tug before you start walking to make sure nothing shifts.


